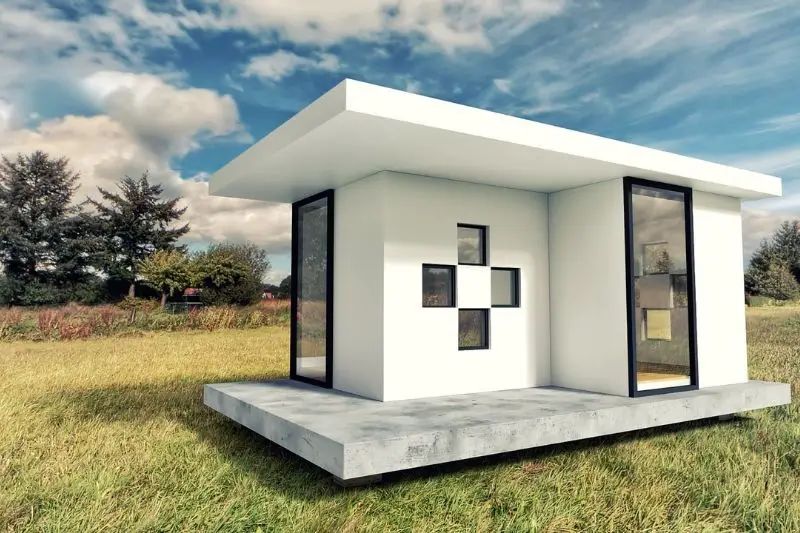
Tiny house living has been gaining a lot of popularity lately. Research shows that millennials are increasingly shifting from their parental or native homes into tiny homes. And to your surprise, this shift has a lot to do with the increasing popularity of minimalism.
Tiny homes offer more sustainability, are more economical, and most importantly, are apt for small and nuclear families. That being said, tiny homes are not immune to typical household issues.
Yes, you read that right.
In fact, statistically speaking, plumbing is one of the most common issues faced by tiny home dwellers. If you agree to this statement, you can’t be more right.
Nonetheless, it is possible to keep these plumbing issues at bay. At least, with the proper techniques and plumbing layout, you can expect fewer troubles.
Worry, not. This article will help you understand the nitty-gritty of tiny home plumbing. So, without any further ado, let’s get started.

Getting freshwater
Since you’ve made up your mind to settle down in a tiny home, you’d know it better- tiny homes are usually not connected to the water supply. In other words, you don’t really get a regular community supply of water.
So, you need to figure out how you’d get water in your tiny home. Perhaps, installing storage tanks would be your first thought. Now, speaking of storage tanks, you can either place separate tanks in all sites such as your bathroom, loo, and kitchen; or you can go for plumbing.
We suggest the latter is better, as it would save you unnecessary hassle and effort. Here’s how you can do it.
Install a water inlet
First things first, you’d need a point to connect to any water supply as and when needed. Typically, the water inlet should be close to the water tank to reduce any potential gradients. Apart from this, you’d also need to install a pump to push water to the tank in case you have a roof-mounted water tank.
Connections to all sites
Once you’re done installing the water inlet, the next thing to do is connect it with all your plumbing fixtures. Now, you may ask why you should connect your fixtures to the inlet when you have them connected to the tank.
Well, think of it this way. Your storage tank would fulfill all your water needs when you’re on the go. Or better said, when you don’t have access to clean water sources. But, when you can connect to a direct supply line, you might not want to use your stored resources.

Ensuring weather compliance
Done with the connections; your work for plumbing isn’t over yet. Since you’d probably be living a life on the go, you might sometimes also visit icy regions. Or likewise, may park near an arid desert.
Extreme weather conditions can freeze or heat up the stored water to the extent that your tank may burst. More so, no hot water in colder climates can also make you feel uncomfortable. You wouldn’t want that, or would you?
For this reason, you should also consider installing water heaters or boilers in your tiny home. The heater should ensure that you don’t end up freezing up all your water reserves. And, of course, you can use your resources when you need to.
Dumping greywater
By now, you’d probably be feeling done with the plumbing task. But hang on. Have you thought of where the used water would go?
Well, to put it to you in simple words, you can’t just dump your greywater anywhere. There are strict regulatory ordinances for where you can dump your greywater and where you can not.
Regardless of the legal regulations, dumping the greywater out in the open can also create hygiene troubles for you and your family. So, in addition to a freshwater tank, you’d also need to install a grey water tank in your tiny home.
Install a water outlet
Just as you installed an inlet for freshwater, you’d need to install an outlet for greywater. Your greywater tank would ideally be installed below the deck or flooring of your home.
This is to ensure that greywater collection does not require any additional energy. Consequently, the outlet would also be better situated at the bottom, near the tank, for ease of access and dumping.
Connect greywater lines
Now, once you’re done with installing and fixing the grey water tank, you’d need to connect all your drains to it. Here, it is worth mentioning that many tiny house dwellers prefer keeping their bathroom drains separate from kitchen drains.
The reason being, greywater from the kitchen can usually be reused for irrigation. And generally, kitchen greywater can be dumped out in lawns or parks. In contrast, the greywater from the bathroom would usually be more toxic. And it can’t be reused or repurposed.

Water treatment (optional)
Last but not least is installing a water treatment setup in your tiny home. As mentioned already, the greywater from your kitchen can be reused or repurposed.
But, what you might not know is, it would still contain soap and all the dish wash alkali. Before you can reuse this water, you’d need to remove these alkaline salts or increase the water’s pH.
The same is actually true for the greywater from your bathroom. With proper treatment, you can repurpose it for any other usage.
But then again, whether you wish for a treatment setup in your home or not would entirely be your choice. Of course, it could increase the cost of your plumbing needs, but it would still be reducing your impact on the environment.
The takeaway
Tiny homes are meant to support a sustainable lifestyle. And as a tiny home dweller, you’d probably wish to reduce your impact on natural resources and mother nature itself. Installing smart plumbing into your home would be your first step towards sustainability and a minimalistic lifestyle.
So, think carefully before doing the plumbing yourself, and consider getting professional help for the same. This way, you’d save wastage as well as avoid unnecessary costs for replacements and refixes.


